- Projecting a picture with an electric lamp ( How to Project Mobile Screen on a Wall Without Projector)
- Extending a picture on a wall with your cell phone
- Utilize the correct box and mirror
- Power outage the inside for better picture quality
- Introducing your focal point into the DIY portable projector
- Plan a manual, movable concentration for your telephone projector
- Introduce the mirror in the cardboard telephone projector
- Make a window for the telephone
- Final Words
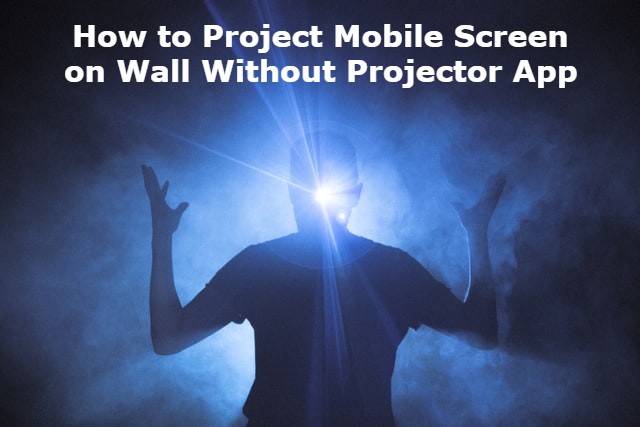
Projecting pictures on a wall is quite direct all you need is a decent projector. But here we are concerned about How to Project Mobile Screen on Wall Without Projector.
Regardless of whether you are a film addict or an inventive individual who wants to catch the delicate subtleties of a picture, a projector would prove to be helpful. Indeed, projectors are fantastic — they are phenomenal, yet no compelling reason to worry but you can’t lay your hands on one.
You may also like Best Bulb for Projector Headlights
The truth of the matter is projecting a Screen/image on a wall without a projector App. You can extend a picture on a wall with an electric lamp or your cell phone. Here’s how to extend a picture with an electric lamp.
Projecting a picture with an electric lamp ( How to Project Mobile Screen on a Wall Without Projector)
Point your spotlight at the divider and spot a Fresnel focal point (or amplifying focal point) before the electric lamp. Then, please turn on the light and let it radiate from the perspective. Along these lines, it will extend the picture on the divider.
At long last, you must change the situation of the focal point to zero in on the picture. Continue to change until you get your ideal picture size and quality.
Extending a picture on a wall with your cell phone
If you resemble most people, you presumably imagine that a cell phone is utilized only for ordinary calls and getting to the web. That is part of the way evident.
You may also like Best Home Projector Under 200
The world has developed, and you can do loads of things utilizing your cell phone. Something you can do with your cell phone is to project a picture. How about we get it straight: no cell phone has an implicit projector design. However, you could utilize your cell phone to fabricate a reasonable Do-It-Yourself (DIY) projector with some adjustments.
Here’s the way to do precisely that.
- Most importantly, here are the materials you will require.
- Accuracy blade or scissors
- Mirror
- Amplifying glass
- Ruler, pencil
- A shoebox or something almost identical
- Twofold-sided tape, brush, and paste.
- Dark matte paint or thick dark paper.
Utilize the correct box and mirror
You must place an amplifying focal point and a mirror in the case. This plan helps the light beam from your telephone make a huge projected picture. To get a more brilliant last picture, more light needs to arrive at the amplifying glass.
Besides, you will require a long box so you can change the distance between your telephone and the projecting focal point. When in doubt of thumb, you would need a case that accommodates your telephone screen. The mirror must be plain, rectangular, and be a similar size to your telephone.
Power outage the inside for better picture quality
Cut out one thin side of the external box with scissors or an accuracy blade and keep it in a protected spot. Additionally, cut the case’s top. Listen to this light reflection from the case dividers prompts picture commotion. It will, thus, cause a bad-quality picture.
To kill such a circumstance, you must cover the inside of your projector with dark matte paper. You can do that by only sticking the dark matte paper onto the inside dividers of the projector.
Spreading the paste across the dark matte paper is simple. You can do it utilizing a brush. If you don’t have dark matte papers, you can select to paint the case. After painting, you should allow the paint to dry.
Introducing your focal point into the DIY portable projector
Eliminate the handle of your amplifying glass, and follow its blueprint on the focal point of the tight side that was removed. With your accuracy blade, cut out the blueprint, so the amplifying glass squeezes into the opening.
Plan a manual, movable concentration for your telephone projector
A movable center means having a focal point that can be moved comparable to the telephone. To work on the concentration, you must form a second box that squeezes into the external box. When the next box is made, make four sheets of dark paper overlap and fit them at the crate’s edge.
Use a ruler for exact estimation. Make some shallow cuts at one edge and overlay the folds. Utilizing paste, connect the contiguous sides of the folds. This arrangement makes the design more solid and inflexible. Then, stick the focal point on the folds of the inner box.
Introduce the mirror in the cardboard telephone projector
Up until now, you have an arrangement that projects a picture that is situated passed on to the right and turns over. Fixing the last is direct — you should deactivate your telephone’s auto-pivot work. In the wake of halting the element, you’d need to put your telephone topsy turvy.
You may also like Top 5 Best Projector Under 400
Revising the passed on to right picture situating should be possible by utilizing a mirror. You do that by putting the mirror at a 45-degree point against the edge that is inverse of the focal point.
Make a window for the telephone
Utilizing the estimation of your telephone’s screen, draw a square shape on your projector’s cover over the mirror. Eliminate the square shape with an accurate blade. At last, fit the amplifying glass into the opening in sync 3. With this, you’ve made your telephone projector. You can get innovative by improving the telephone projector with paint or any sparkly material.
Final Words
A projector is an imperative instrument in most huge companies, workplaces, and public spots. Be that as it may, if you are searching for a fun, inventive method of extending a picture on a divider without a projector, you can do it by simply utilizing an electric lamp or your cell phone.
Building an individual projector is a pleasant method to draw in your psyche imaginatively. Also, you can play out the undertaking alone or welcome a gathering of companions to assist you with taking care of business.
Indeed, a DIY projector isn’t great, and it may not create an optimal picture. In any case, you can utilize it to extend an image on a divider during birthday celebrations and Halloween.
You realize how to extend a picture on a divider without a projector. Will you project your following image utilizing a spotlight or your cell phone? Hope you are clear with how to project mobile screen on wall without projector.