Yep, you can make a projector with blackout cloth and this one is a how-to article explaining every step in detail. I should emphasize that this tutorial is fairly easy to do; if you are doing it for the first time don’t worry. Just follow the shared steps carefully and you should have a pretty good result. Okay so now let’s get into some of the supplies and tools you will need for this project.
The first material you need is wood
Now in terms of supplies, the first thing that you will need is wood. You can do this with metal but wood is a lot easier to work with. You can use one by two or any other kind. Of course, the length will be governed by how big the screen will be and I will get into the screen measurements in a little bit.
L brackets
Next, you will need some pretty light-duty l brackets which you can find in most hardware stores and they should have the screws inside the bag.
Screen material
The most important thing and probably the most expensive thing that you should get is the actual screen material itself.
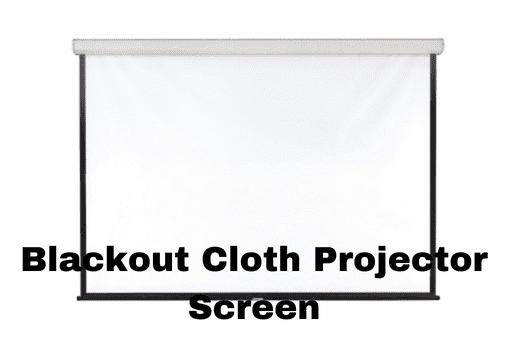
Blackout cloth
The DIY home theater material of choice for making projector screens is blackout cloth which is traditionally used to line curtains to block out light. Now blackout cloth is made of one side polyester and the other side cotton and if you use the polyester side for the projector screen surface, you will get a pretty decent image quality that is very comparable to what you would find in a professional projector screen.
Border material
Once you have your projector screen material you are also going to want to get some kind of border material for your screen. You can use two-inch felt tape that has an adhesive back and it just can be applied on the border directly.
Recommended Article: How to Get Wrinkles Out of Portable Projector Screen?
Other supplies
You are also going to need a staple gun with plenty of staples measuring tape, a pen or pencil, some l-shaped square rulers, and lastly some kind of miter saw or a handsaw to cut your wood.
The procedure
Once you have your screen measurement size you are going to go ahead and make a little diagram of how exactly you need to cut the wood. Of course, everyone’s measurements are going to be different based on the specific screen size they want and the width of the wood that you’re going to be using.
The middle portion of the screen
Now once you have your measurements all done make sure to double-check everything. Go ahead and mark your wood and cut. In addition to the four pieces that you are gonna cut, you are also gonna cut one middle portion just for added support. You don’t have to do this but just so the screen isn’t that flimsy, it is recommended to just put in at least one other support in the middle of the screen.
So once you have all your wood cut go ahead and join it up with the l brackets that you got and you are gonna make sure that everything is square and at 90 degrees by using some of the l-shaped rulers.
The security factor
You want to make sure that the l bracket is facing away so it doesn’t interfere too much with the actual blackout cloth and there won’t be too much of a bulge. Keep in mind that this area will be covered with felt tape anyways but you want to make sure that you have it on both sides just for added security.
Avoiding bulges
For the middle portion when you get down to it you don’t want to put anything on the good side of the screen. You want to make sure that you just have those l brackets on the back side so you don’t have any bulges in the middle of the screen.
Cut your blackout cloth
Okay so once you have everything joined together and everything’s nice and square, you want to go ahead and roughly cut your blackout cloth to size so you have enough room to kind of grab it because we are going to be pulling it and stretching it over the screen.
Lay that screen out and staple one side of the frame to the cloth. When you are stapling, make sure to leave about 7 to 10 inches between staples so you are stapling pretty wide.
The two steps you need to repeat
Go ahead to the opposite side that you stapled and stretch it pretty firmly, not too hard but not too soft. Then you want to go ahead and secure that firm fit by stapling the cloth to the frame and again leaving about seven to ten inches between your staple joints.
Then you wanna go ahead to the top and bottom portion of the screen and repeat the two steps that were just mentioned. So go ahead up there, tighten it, staple it down, go to the other side tighten it, staple it down, and then you want to just repeat the whole process eliminating any kind of creases or wrinkles that you might have with the blackout cloth. Be nice and firm with it; the blackout cloth can stretch quite a bit and you know you’re done when you have a nice flat surface free from any wrinkles or creases.
Staple the remaining screen material
After that, you want to go ahead and staple the remaining screen material over to the back side of the screen so you have a nice clean finish.
The final step
Once you are done, simply put on your felt tape around the perimeter of the entire screen, and hopefully, you should have a screen. You are not going to find a massive difference between something like this and a projector screen that costs 500. So with that in mind, it doesn’t take that much effort to make it as long as you have the proper tools you should be fine now.
Related Article:
How Big is a 300 Inch Projector Screen?
NEC Projector Status Light Blinking Red 6 Times
How to Hide a Projector Screen?